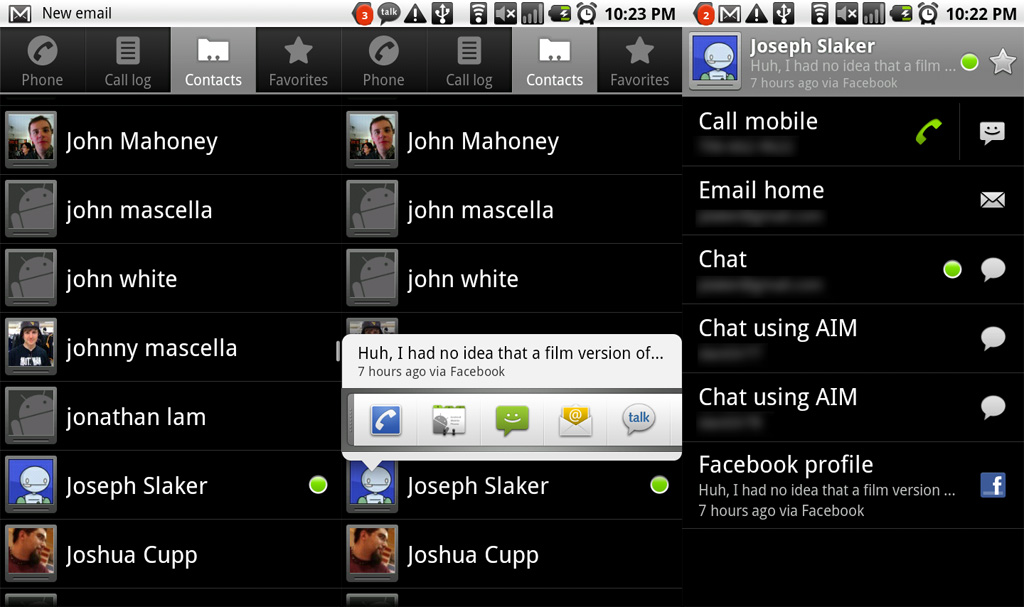
For me, one of the most confusing parts about setting up my new Android phone was sorting through the massive list of contacts. Unlike other phones, where the only contacts in my list were ones that I had manually added, Android takes contacts from Gmail, Facebook, and other sources.
This is a good thing for some people, but it’s not always ideal. I’ve had my Gmail account since 2006, and over that period, I’ve sent emails to everybody from high school teachers to college professors and employers. So browsing through my Android contacts list is like looking through a cross-section of the last 7 years of my life.
Fortunately, there’s an easy way to clean up your Android contacts list. And it only takes a few minutes to figure out how to do it. Follow the steps below to trim your bloated Android contacts list and restore sanity to your life:
Explanation and warnings
This tip involves creating a special list in Gmail of the contacts that you actually want to, you know, contact. This group will automatically sync to your Android device, but it will also prevent many other contacts from synching with your Android phone.
Gmail’s synching feature automatically adds address and phone number information to your Gmail contacts, so as long as you won’t miss this information (for the contacts that you don’t contact anyway), keep going.
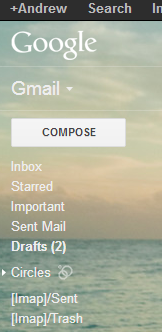
Step 1) Login to Gmail and click the Gmail button in the top right corner of the window to reveal a dropdown list. Click Contacts from this dropdown list.

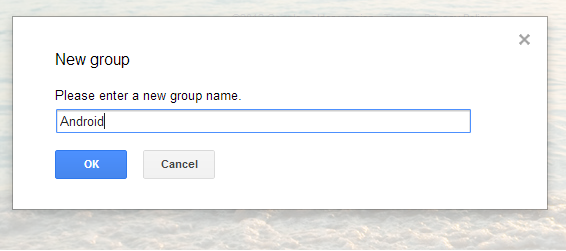
Step 2) Click on the New Group button and create a group called Android (or whatever name you want)

Step 3) Browse through your list of contacts as well as the Most Contacted and Other Contacts categories along the sidebar and click the square button beside the name of any contacts that you wish to add to your list

Step 4) Once you’ve chosen the list of contacts that you actually want on your Android, make sure they’re in your Android group and move onto the next step
Step 5) Open your Android phone and go to the Contacts menu
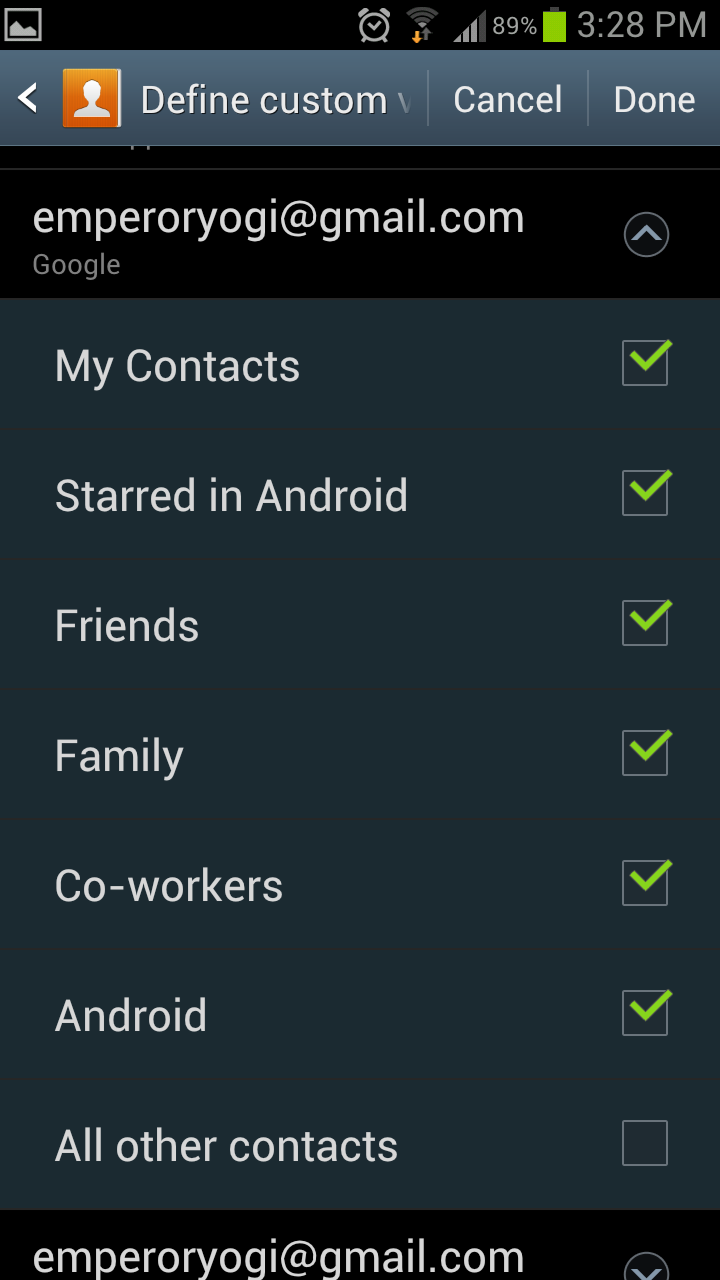
Step 6) Press the settings button and then tap on Contacts to Display. Look for the Customized list option at the bottom of this menu and then press the gear symbol to reveal a list of groups currently included in your contacts list. Uncheck any boxes that you don’t want to see in your contacts list and then check the boxes that you do want to see. Check ‘Android’, for example, to only reveal the list of contacts you chose in the previous step.

From that same menu, you can also uncheck Facebook contacts and contacts from any other groups that Android may have added to your device. Using this menu and Gmail’s contact groups function, trimming your Android contacts list has never been easier.
