
The latest Android 4.4.2 KitKat was released for the Galaxy S4 last month. Users can now install this firmware using a customized ROM developed by Android Open Source Bam (ASOB). This custom ROM developed by AOSB is based on Android 4.4.2 released by Google and is extremely stable in performance. Let us go through a sequential process of doing the same. Users should make a note here that the phone must be rooted to flash the ROM and it should have a custom recovery installed.
Project Introduction
The custom ROM developed as an AOSB project is a free and open source software and it is eminently based on the official releases of Android by CyanogenMod. The KitKat series of ROMS are portrayed and claimed to be the epitome of all the best ROMs out in the market – The latest update has more than a few enhancements with a brilliant support from XDA forums. ![]()
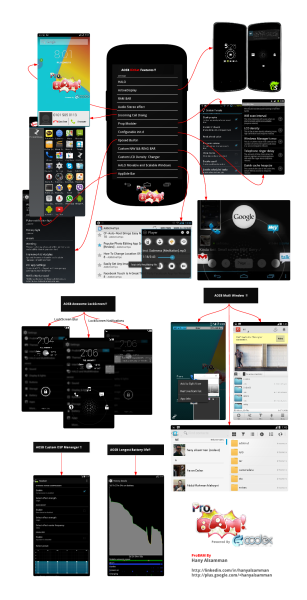
Noteworthy features of the ROM include HALO MODS, custom navigation ring & bars, battery saver mode with advanced battery bar, sidebar, screen video recording, multi-window, OTA support, custom CRT animation, incoming calls dialog, RAM bar with custom colors, network usage stats, Audio: stereo widening, lockscreen blur etc.
Installation
It is highly recommended to create a back up of all the important information from the phone before proceeding as the custom ROM will obliterate all the previous data and apps. Ensure that the phone is carrying at least 80% battery or else if it goes off during the installation, chances are that the phone might go dead or get bricked. Connect the device to the computer and enable USB debugging. Follow the steps –
- Download the Android 4.4.2 KitKat AOSB ROM for Galaxy S4.
- Copy the AOSB ROM from your PC to the root folder of your device’s SD without extracting.
- Disconnect the phone and turn it off.
- Activate recovery mode (as mentioned earlier) by pressing and holding Volume Up, Home and Power buttons together.
- During Recovery mode, use the power button to select option ‘wipe date/factory reset’. Perform a cache wipe by selecting ‘wipe cache partition’.
- Go to Advanced menu and select ‘wipe dalvik cache’ to wipe dalvik cache.
- Select ‘install Zip from sdcard’ in the main screen back and then select ‘choose zip file from sdcard’. The Volume keys are used to navigate and select the ROM Zip file and the power button is used to select.
- Once the installation process is complete, press ‘+++Go Back+++’ to go back to the main recovery menu and press “reboot system now”.
Wait till the phone finishes booting. It is advised to install ClockworkMod and/or TWRP custom recovery apps before the process. These can be used to create a complete image of the existing phone setup.
Disclaimer: This is just a tutorial intended to give pointers and tips. It does not claim any right to any of the products mentioned. Also, if the device is locked to a carrier, this tutorial might not help and we do not take responsibility in case of a phone turning brick.