PhotoSphere is one of the coolest features in Android Jelly Bean. Unfortunately, most non-Nexus Android users do not have access to PhotoSphere because it comes bundled with Android 4.2 – an update which hasn’t been released for the vast majority of Android users.
PhotoSphere is incredibly cool, and today, we’re going to show you how to install PhotoSphere on any device with Android Jelly Bean. In fact, it’s way easier than you think.

What you need:
-A rooted Android with a TouchWiz Jelly Bean ROM (any stock rooted ROM will also work as long as it uses Jelly Bean)
Step 1) Plug your phone into your computer and copy the file into your Android’s Phone folder, which is the main folder on your device (do not put it in the Card folder)
Step 2) Flash the file in Recovery mode. To do this, hold down the Power button and tap Recovery (if that doesn’t work, then you can also enter Recovery mode by holding Volume Up + Home + Power and then let go when the first screen flashes). Once you’ve entered Recovery mode, wipe Cache and Dalvik Cache. Flash the file that you just copied to your phone.
Step 3) Before you reboot, look for the Fix Permissions option and enable it.
Step 4) Reboot your device
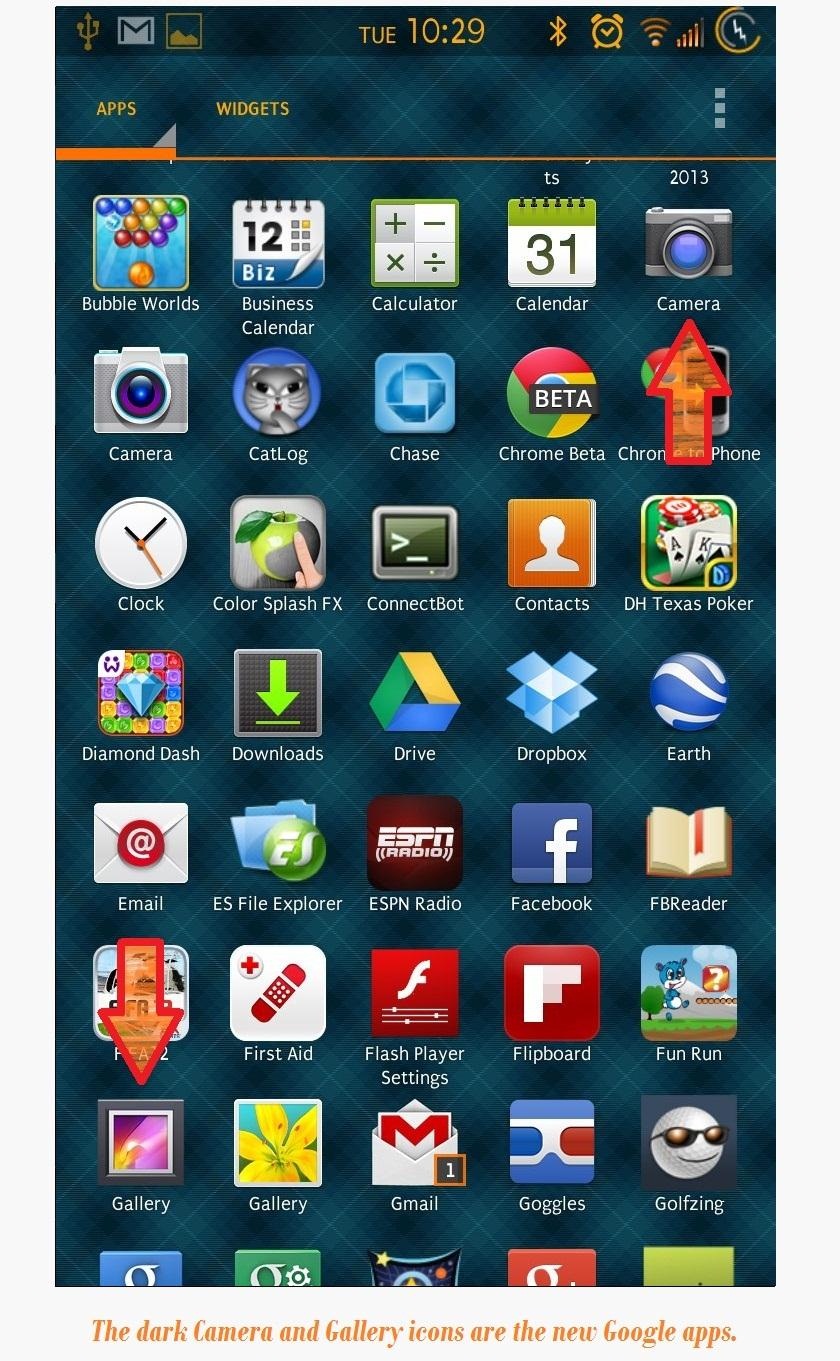
Step 5) Open the app drawer and find your new apps. If you look in the app drawer, you’ll see two new apps – a new camera app and a new gallery app. Each app shortcut file is slightly darker than the original. Open the camera app.
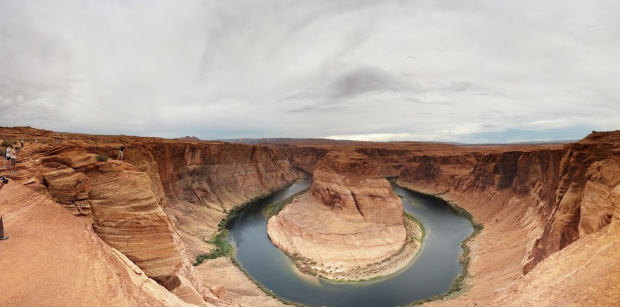
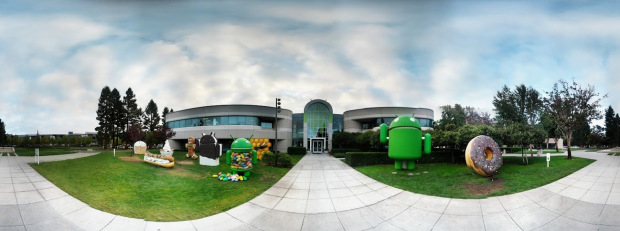
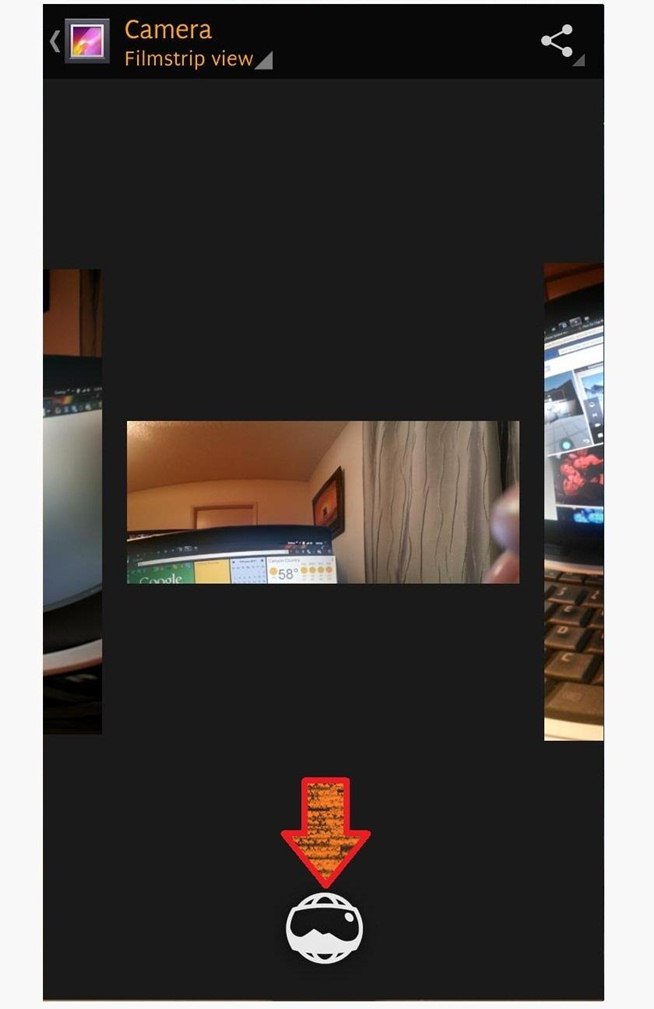
Step 6) Activate PhotoSphere by tapping the camera button in the bottom left corner of your screen. You’ll see an icon of a photograph stretched over a sphere. That’s the icon you’re looking for. Now start spinning around and up and down with your camera in order to create your very own sphere of the surrounding environment.
Step 7) View your PhotoSphere pictures from the new Gallery app. It will take a few seconds for Android to create the sphere, and you can track progress in the notification menu.
That’s it! Basically, this is just like installing any other app on a rooted phone. Once it’s installed, you can enjoy taking pictures like you’ve never taken them before.
Kudos to the folks at WonderHowTo.com for much of the information in this guide